Per-game tuning — packs as living glossaries
This is the third post in the Playto walkthrough. Step 1 covered the first session, and Step 2 covered what to do with what you capture. This one is the next layer — what to do once you’ve put a few hours into the same game and the same translation issues start surfacing.
1. The pack is already there
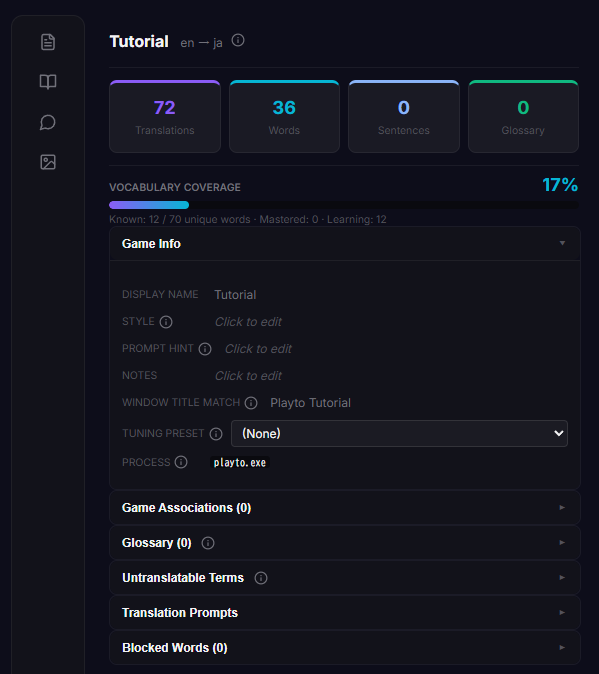
Every game you launch with Playto gets its own pack — a per-game container for capture settings, a glossary, and an untranslatable-terms list. You don’t have to create it; the moment Playto detects a new game window, the pack appears. So when this post says “tune the pack”, the pack already exists. The question is just what to put in it.
2. The empty-glossary phase
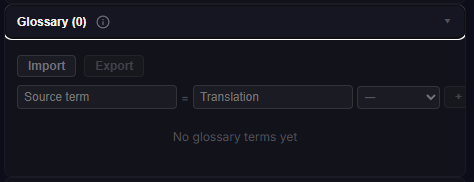
For the first hour or two of a new game, leave the glossary empty. The model is using its general knowledge and what it picks up from genre cues, and that’s enough to get you oriented. Adding entries before you know which words actually keep coming back wastes time on terms that turn out to appear once.
3. The “missed three times” rule
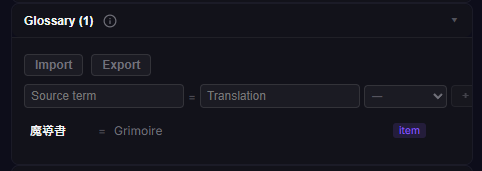
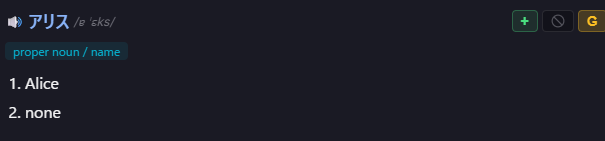
When the same proper noun, item name, or character keeps getting translated wrong — and you’ve seen it three times — that’s the signal to add a glossary entry: source term on one side, the translation you want on the other. From then on, the model is required to use that translation. Five seconds of typing saves a lot of confusion over the rest of the playthrough.
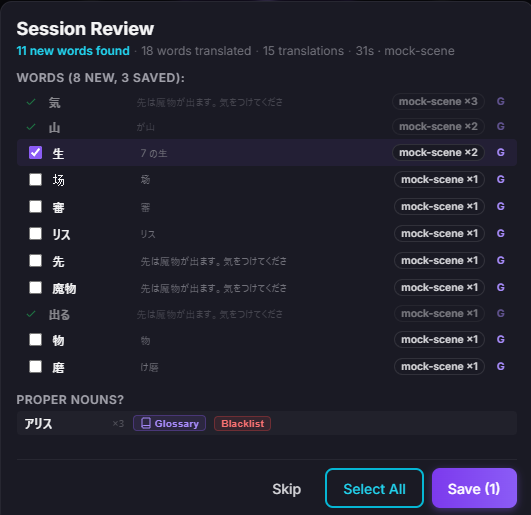
You don’t have to open the pack to do this. The G button on any word’s lookup popup — whether it’s in the Log or in the Words tab — adds that word straight to the glossary in a single click. And at the end of every session, the Session Review dialog surfaces proper-noun candidates from that session with one-click Glossary / Blacklist buttons. Use whichever entry point fits where you already are.
4. Untranslatable terms — the other lever
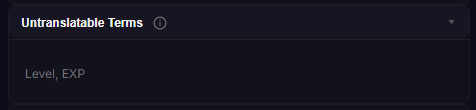
Some things in games shouldn’t be translated at all. Character names you want left alone, item codes (G, EXP), short UI strings (OK, Yes). The pack’s Untranslatable Terms list (comma-separated) tells Playto to leave those strings as-is in the overlay. HUD basics (HP, MP, etc.) are already handled automatically; this list is for the game-specific cases.
5. When to leave the pack alone
Most of what you read doesn’t need to feed back into the pack. If a translation was odd but the meaning was clear, just keep playing. The pack should reflect repeated friction, not every minor wobble. A pack with twenty well-chosen entries is more useful than one with two hundred speculative ones.
What’s next
After a few sessions of this discipline, the same game reads noticeably cleaner — proper nouns stay consistent, UI strings stop getting translated, and the model’s general output has room to breathe. Step 4 of the walkthrough covers the five-minute review ritual that locks in what you’ve been saving — session review, journal, and one quiz mode.