Your first 30 minutes with Playto
This is the first post in the Playto walkthrough — a five-part series that connects the app’s features into the flow new users actually follow. This one covers the very first session, end to end.
1. Setup
Install from Steam, launch Playto, and the setup wizard walks you through picking your source language (the language in the game) and the language you want translations shown in. Pick a recommended local model when prompted — that’s all the wizard needs.
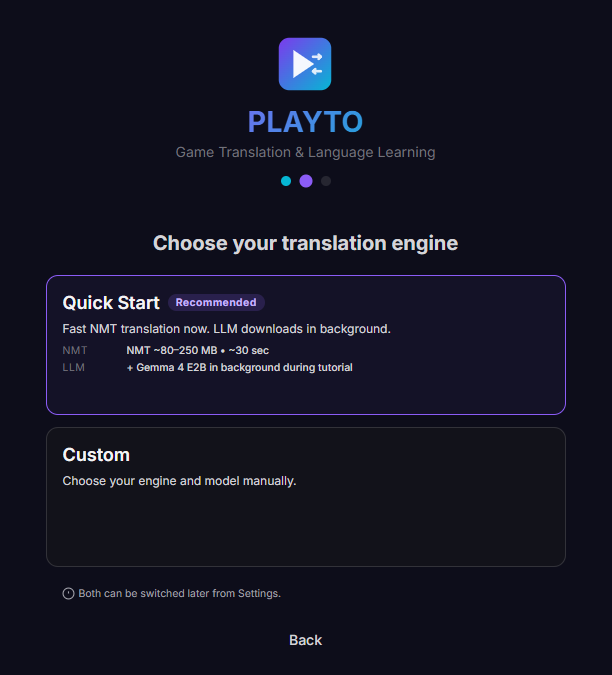
On the Quick Start path, Playto downloads the lightweight NMT model first (~80–250 MB, about 30 seconds) so translation works right away, then the full LLM downloads in the background during the tutorial. NMT translates text fine, but the word book backfill — the feature that fills in definitions for words you save — needs the LLM. Once the LLM finishes downloading, switch to it from Settings → Engine; saved words then auto-fill during idle time.
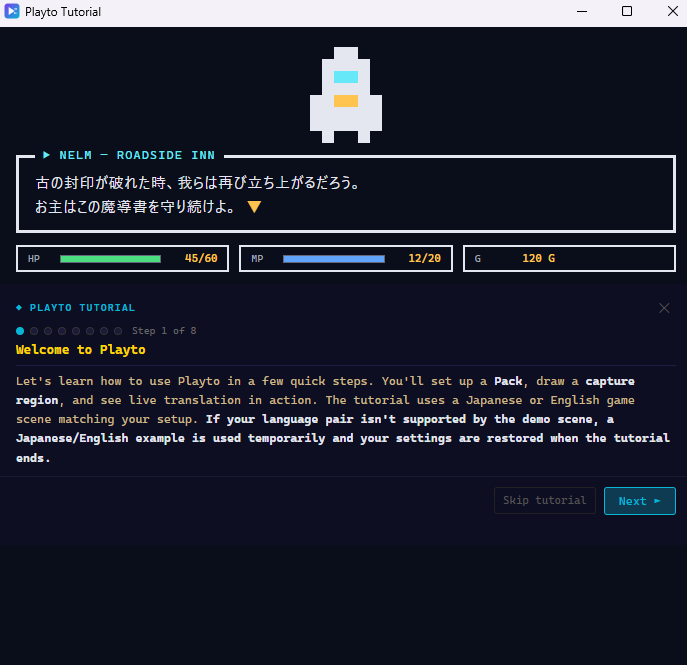
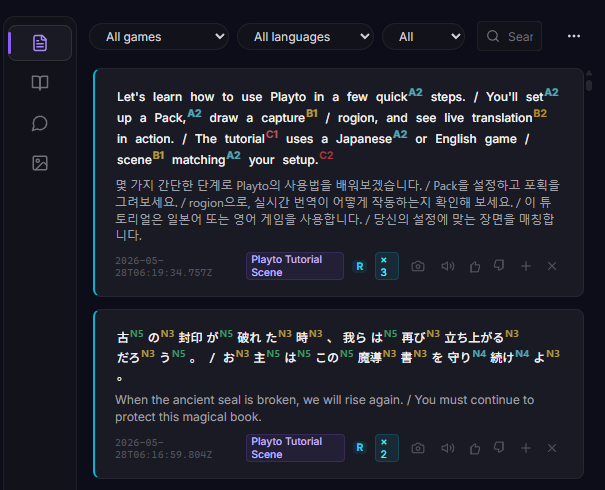
2. Tutorial
After the wizard, Playto runs a short in-app tutorial that demonstrates a capture against a mock game scene. Follow it through — it’s the cheapest way to see what a real capture looks like before you point Playto at an actual game.
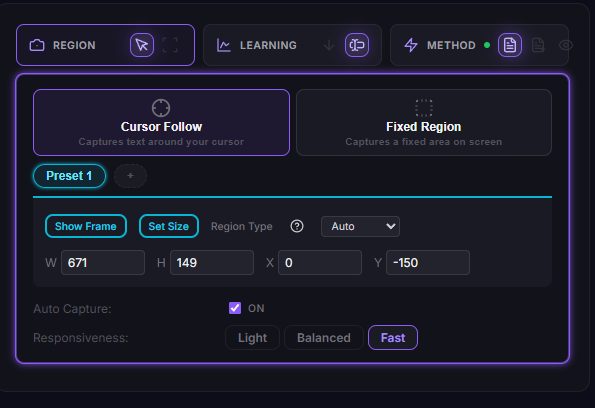
3. A couple of settings
Open Settings briefly. There are only two choices worth making before your first real session: pick a capture mode (Cursor Follow for action games and menus, Fixed Region for dialogue-heavy games like visual novels), and confirm the engine you downloaded is selected. Defaults for everything else are fine.
4. Try it with a real game
Launch the game you actually want to play and hit start in Playto. If you picked Cursor Follow, move your mouse over the text you want to read. If you picked Fixed Region, draw a rectangle over the area where dialogue or subtitles appear. Give it a couple of seconds.
5. Watching the Log fill up
Captured lines appear in the Log — original on top, translation below, in the order they arrive. Click a word to see its definition, or save the whole line for review later. That’s the loop. Once you’ve seen a few captures land, the first session has done its job.
What’s next
Step 2 of the walkthrough covers the next few sessions — what to save, what to skip, and how to use the Log’s detail panel without breaking immersion. Worth a read once your saved list starts to feel either too thin or too crowded.