When the translation feels off — four levers, and how to choose
This is the final post in the Playto walkthrough. Posts 1–4 covered everything that goes well — first session, curation, per-game tuning, the review ritual. This one is about everything that doesn’t. When a translation surprises you in a bad way, Playto gives you four ways to respond. The trick is choosing the right one.
For why translation goes off in the first place (context, model limits, the fundamental hardness of one-line dialogue without speaker info), see the earlier context problem post. This one is the practical “what now.”
1. The diagnostic question
Before reaching for any of the four levers, ask: is this a one-time wobble, or will it keep coming up? Most of what feels off is the first kind — a one-off, the model under-reading a stylized line, a tone slipping. Those don’t need a fix. The cases worth your time are the ones that are about to happen again.
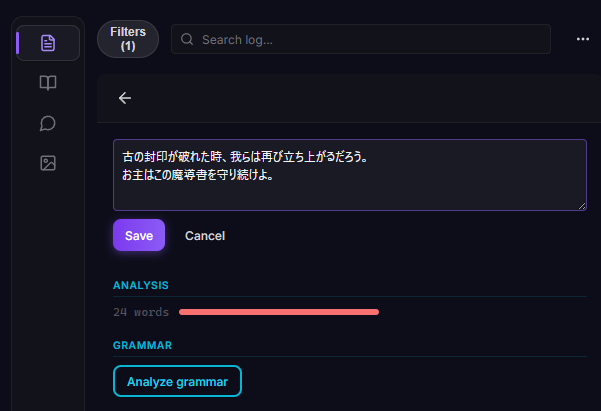
2. Edit — for a single line that mattered
If the line is one you saved — in Sentences or as the source of a Words entry — and you want it to read correctly in review later, edit it. Click the pencil icon, fix the translation or the original, save. The edit sticks in the database; future lookups use your version. Don’t edit lines you’ll never revisit — it’s seconds you won’t get back.
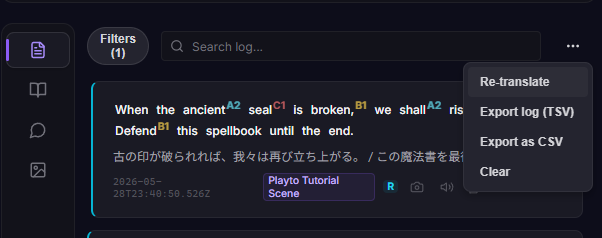
3. Re-translate — when the model gets a second chance
For lines still in the Log, the re-translate action runs the same line back through your current engine, sometimes with different output. Useful when you’ve just changed a glossary entry or switched models. Less useful for the same model with the same input — it’ll usually give you the same answer.
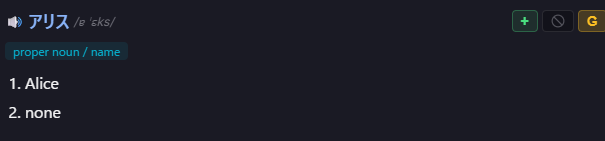
4. Glossary — the leveraged fix
When the same proper noun, item, or character keeps getting mistranslated, add a glossary entry — the rule from Step 3 of the walkthrough. One entry, source → translation, locks the right answer in for every future line containing that term. Five seconds of typing, hundreds of captures cleaned up over the rest of the playthrough. This is the lever to reach for whenever the wrong translation is a recurring one.
5. Ignore — the most common right answer
The hardest one to remember. Most off translations don’t need any of the above. If the line is gone, the meaning was broadly clear, and the term doesn’t keep returning, let it go. The Log keeps the entry; you can come back later. The cost of trying to fix every wobble is finishing fewer sessions with the game itself actually progressed.
A useful self-check: would you have noticed this was off if you hadn’t been looking for it? If no, ignore.
End of the walkthrough
That’s the five steps. The first session, the curation loop, the per-game pack, the five-minute review, and the response toolkit for when something feels off. If you’ve made it through all five and they’re starting to feel like one connected habit, the walkthrough has done its job.
The docs cover everything in feature detail when you want it. The blog has genre guides and engineering notes. The Discord is where actual gameplay stories live. Good luck out there.